
Welding brass may look like a tricky and complex task, but it surely has a large number of helpful applications in various industries. Along with these benefits come numerous concepts to understand and follow through.
If you’re a beginner, you might have wondered about how to get started with welding a few common materials like brass.
Luckily, I got the answers for you. Browse through this post and learn more than a couple of important facts about brass and a simple guide on how to weld brass successfully.
Overview
Brass is the collective and known term used for materials associated with copper and zinc alloys. Typically, brass is utilized in fittings and tools to be placed near flammable or explosive materials, due to its low-friction properties.
Other properties include electrical conductivity, hardness, corrosion resistance, thermal conductivity, and machinability, which are also being used in electrical, plumbing, and ammunition casings.
With a melting point ranging from 900 to 940 degrees Celsius, multiple methods can be used to weld brass. However, the amount of zinc composition significantly affects the melting point, therefore, making brass a little tricky to weld.
The Process of Welding Brass
Firstly, the percentage of zinc that your materials contain should be considered before jumping into the rest of the steps. Science says that Zinc has a lower melting point than Copper, and with overheating, the alloy can create unsuccessful welds.
The general guidelines to follow when welding brass is firstly to make use of oxyacetylene gas to shield the material from the atmosphere effectively.
Next, for a better fusion of metals, the flux should be involved in the process. Do this by creating a paste out of the water and the kind of flux that best works with oxyacetylene gas. Use the paste to coat the brass surfaces.
Then, take note that a barrier is necessary to ensure that there is enough oxygen to develop a coating on the brass and to prevent the escape of harmful fumes. Do this by keeping the acetylene gas low and increasing the oxygen supply.
Another important point to remember is to choose a rod that is typically larger than the one you use when welding a rod with steel since you need higher heat conductivity.
For more specific instructions depending on the method of welding, you would like to adapt, continue reading this article.
MIG Welding
One of the most important components, when you decide to push through the Metal Inert Gas welding procedure for brass, is the filler wire. The most ideal choice for the filler wire, even though it cannot guarantee a perfect color match, is CuAI8 consisting of copper and around 8% aluminum.
Take note that the wrong filler wire may result in discolored welds.
With this procedure, the steps similar to the basic welding method are still followed. Most acceptable results are usually achieved with the use of shielding gas with a 75/25 mixture of argon and carbon dioxide.
Check out the article to know about top MIG welders.
TIG Welding
The AC power inverter with 30-second pulses per second is highly recommended when using the TIG welding method for brass.
Since zinc in the workpiece has really low melting points, overheating may result in the zinc halting the entire procedure. So, it is necessary to use a minimal amount of heat and to take the heat off the material every few seconds to avoid overheating.
Since TIG welding does not guarantee clean results, it might be necessary to machine the ugly welds off after the procedure. Do this by keeping the spot heated under argon to cool off completely instead of exposing the heated material to the atmosphere.
In terms of color coordination, the most ideal rod to use when TIG welding copper and zinc is the CuSn6 rod. Take note that either with TIG or MIG, there is less chance of getting a perfect color match. If you want to pass the physical standard test of a brass weld, resort to the flame welding method instead.
Flame Welding
As stated, flame welding is the most ideal when the color match is as essential as the strength of the weld. You can achieve the best color results with the use of CuZn39Sn filler wire. Moreover, with this method, you have to closely monitor the effect of flame in the material throughout the entire procedure.
For flame welding, three primary flames are usually associated with it. If you want no chemical effect on your workpiece, the neutral flame is the best choice for your project. Another type of flame is a carburizing flame which can cause a chemical change in steel and iron.
With this, such a flame is unsuitable for use on metals that absorb carbon. Lastly, the most ideal for welding brass is the oxidizing flame as it carries more heat than the other two flames.
How to Weld Brass: A Step by Step Guide
After being equipped with all the necessary information you need to know about welding brass, here’s a quick and handy step-by-step guide on how to do it.
- Prepare your work area. Make sure your area is well-ventilated, clean, secure, and away from flammables.
- Clean your brass pieces with sandpaper or any available tool. Get rid of particles, debris, and particles from the pieces.
- Hold your workpieces together with a clamp. Make sure that everything is held safely in the right position.
- Use the flux. Research on the appropriate methods on how to do this depending on the method you will apply and the material you will be using.
- Prepare your solder or rods for the procedure, and other assisting tools.
- Get your torch and set all the elements in the right setting. Start welding carefully and keep an eye even on the little details.
- Let your pieces cool down after the procedure. Once they seem to have cooled down, clean them carefully by rinsing and drying them afterward.
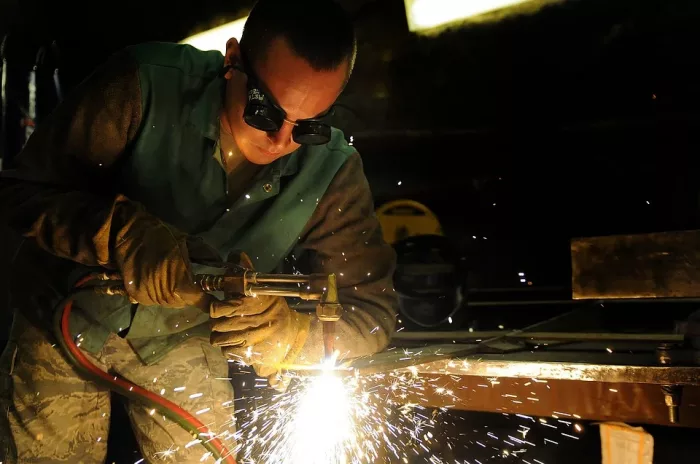
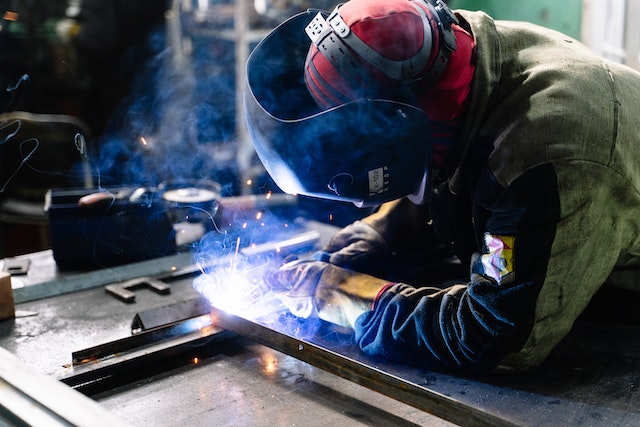
What matters more than getting successful results is doing the entire procedure away from harm. Make sure that you wear welding gloves and boots to keep yourself away from being burnt by spatters. A fume extractor and auto-darkening helmet are also essential for your overall safety.
Final Thoughts
There are several ways to weld brass. All you need to do is consider the essential factors before indulging in the procedure.
After all, if you want to get your brass tasks successfully done, just carefully follow all the tips listed above. For a deeper understanding of things, you might want to invite a professional welder over or read more books and articles, and surely, you’d be a master of this field in no time.